We've had such beautiful weather this last week. It feels like spring - but I know it's just teasing me! I'm ready to start planting my garden. I've started my seeds indoors to plant outside after the danger of frost has past. Here is the process I used to get things going.
First is to plan your garden. Where is it going to be? What are you going to plant? When is the best time to start growing?
I have two raised beds. I did a "light study" before I placed them, looking for the sunniest spot. Most vegetables require 6 to 8 hours of full sun every day. It's also important to decide exactly where in the garden each plant will grow. Pea trellises and pole beans need to be in a spot that doesn't create shade for those tomatoes and peppers.
I used a grid sheet with each bed divided into square feet. There is a method of planting called Square Foot Gardening. It's great for the new gardener to understand spacing requirements.
(I highlighted as I planted. Pink are planted, yellow will be direct sowed in early spring.)
Next I went though all my seed catalogs and garden magazines and listed everything I wanted to grow. You can use paper (like I did) or go online. And of course I chose too many things!! Keeping my bed size in mind, I narrowed my list down to what I was actually going to plant and use.
It's also important to decide if you are going to save seeds from your plants. Seeds from heirloom or open pollinated plants will produce seeds you can use the following year. But if the plant is a hybrid, the seeds produced could be the same plant or either one of the parent plants. There is no way to know what you will get.
Then I ordered seeds.
There are many places you can order seeds or you can purchase them from your local nursery. Here are just a few mail order companies:
- Nichols (My favorite and local for me)
Next, you need to prepare your indoor planting area. I tried doing it in a window sill, but my cat ate every single seedling as it sprouted. So I invested in a small greenhouse and put it in the closet in our guestroom/my office.
In addition to a place for the seedlings, I purchased full spectrum grow lights (I used T-5, a florescent tube that provides ultraviolet light and I have an LED that has worked well) and heating pads. Seedlings need light and warmth to grow, just as the mature plant does.
And now we plant. There are so many options for starting seeds, but the most important is to use potting medium that has plenty of peat in it for seed starting. Paper egg cartons filled with seed starting mixture are great for starting seeds.
Let's get started!
I like peat pellets. They are a complete vessel to start a seed. And when the plant is large enough, they are so easy to transplant to a larger pot.
You'll need a plastic plant tray, peat pellets or cups for each plant you want to start, and your seeds.
Place your peat pellets in the plastic tray
then cover with water.
The pellets should grow and become super moist. If they aren't fully saturated, add more water. You can easily drain off any excess.
Now that you know your frost date and you have everything you need to get started, it's time to plant. You should start your seeds 6 to 8 weeks before the last predicted frost. My dates range from March 21 to April 1 - so I'm starting mine now.
Another important step is to soak your larger seeds, like peas. They will germinate faster if the outer shell has been softened.
So now that everything is ready, lets plant!
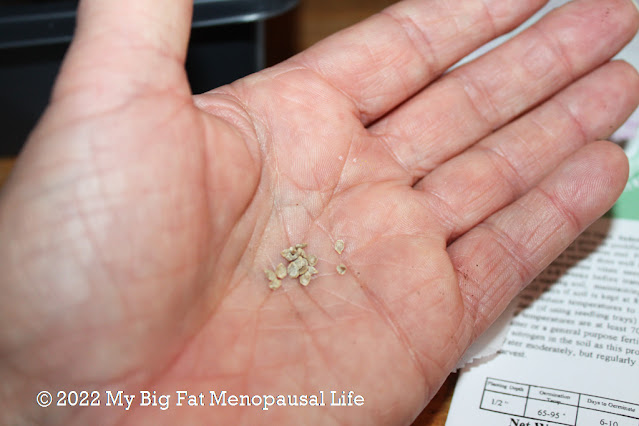
I like to use two seeds of the smaller ones, and one for the larger. Place them in about a 1/4 inch hole (check your seed packet for depth) and push the soil over them. The soil should be well saturated, so you don't need to water them again until later.
Make sure you label each plant. Don't assume you'll remember. Trust me, you won't.
Place the plants under the grow lights on top of the seedling heat mats.
Make sure the soil is always moist. If the seedling dry out, they will die. I check mine at least twice a day. If they are starting to dry out, I'll place water in the tray and let the peat pots soak it up. If they are still moist, I mist them with a spray bottle of water.
And we wait.


You're getting ready for some good, fresh eating!! Thanks so much for linking up at the 25 and Done Link Party 9! 25 entries in 25 hours!! Shared on Fb, Pn, and Tw.
ReplyDelete